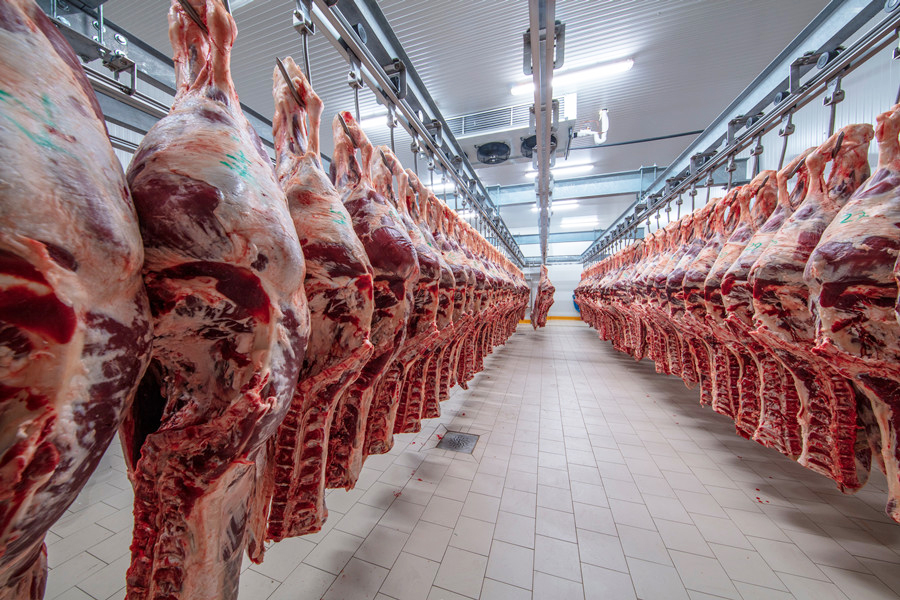
Schematic Diagram of Cow Slaughter
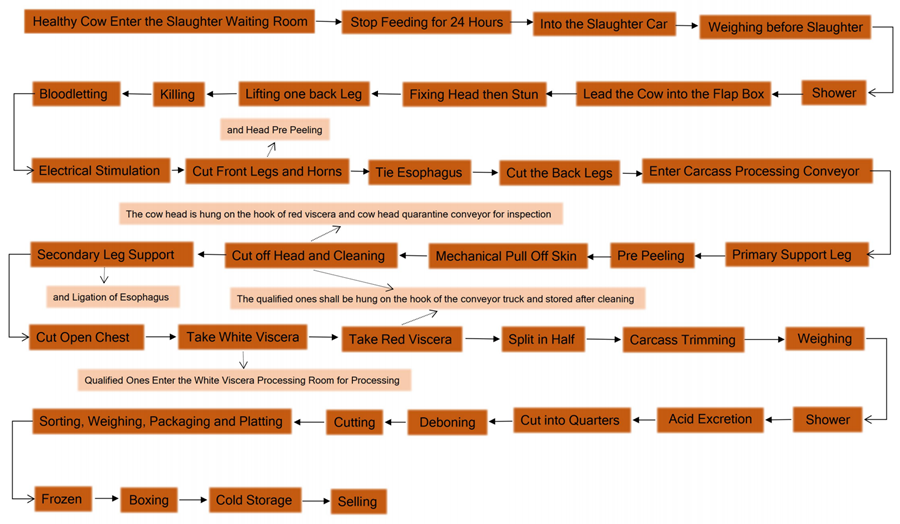
Cow Slaughter Process:
Step 1: Slaughter Waiting Room Management
1.1. Once trucks arrive at the processing plant, please observe all cows before unloading. If no abnormality is found, then ask for the certificate of conformity, which is issued by the animal epidemic prevention supervision agency of the place of origin. Only when the certificate matches the goods, the trucks are allowed to be unloaded.
1.2. Count the number, pat the healthy caws into the slaughter waiting room, and manage the cows according to their health status. The area of the slaughter waiting room is designed according to 3-4m2 per cow.
For example, for 500 cows, the area of the slaughter waiting room should be 1500-2000m2
500*3/4=1500/2000m2
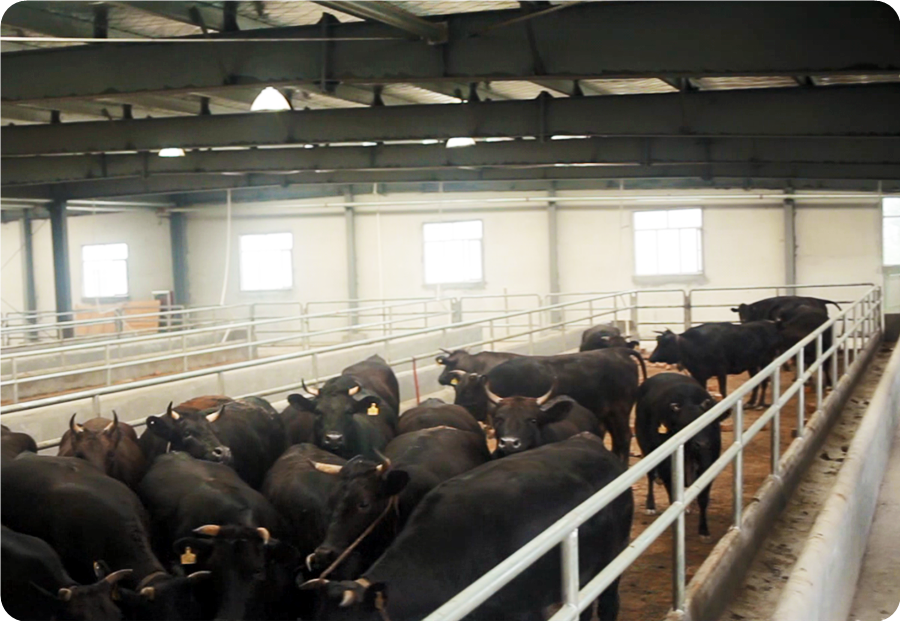
1.3. The cows should be stopped eating and rest for 24 hours before being sent to slaughter. In order to eliminate fatigue during transportation and restore a normal physiological state. During the rest period, the quarantine staff will observe regularly and send the suspicious cows to the isolation stall for observation. Once found the confirmed sick ones, will send to the emergency slaughter room for treatment. The healthy and qualified cows will be stopped drinking water 3 hours before slaughter.
1.4. The cows should be showered before entering the slaughterhouse, to wash off the dirt and microorganisms on the body, and it is also convenient to stun. When showering, control the water pressure and don’t be too rushed to avoid excessive stress on the cows.
1.5. The cattle must be weighed and measured before entering the cattle drive. From the perspective of animal welfare and humanitarianism, cattle cannot be driven away violently, because it will cause an emergency response and affect the quality of beef. It is necessary to design a “maze” form to allow cattle to enter the slaughter workshop consciously. The width of the cattle driving road is generally designed to be 900-1000mm.
Step 2: Killing and Bloodletting
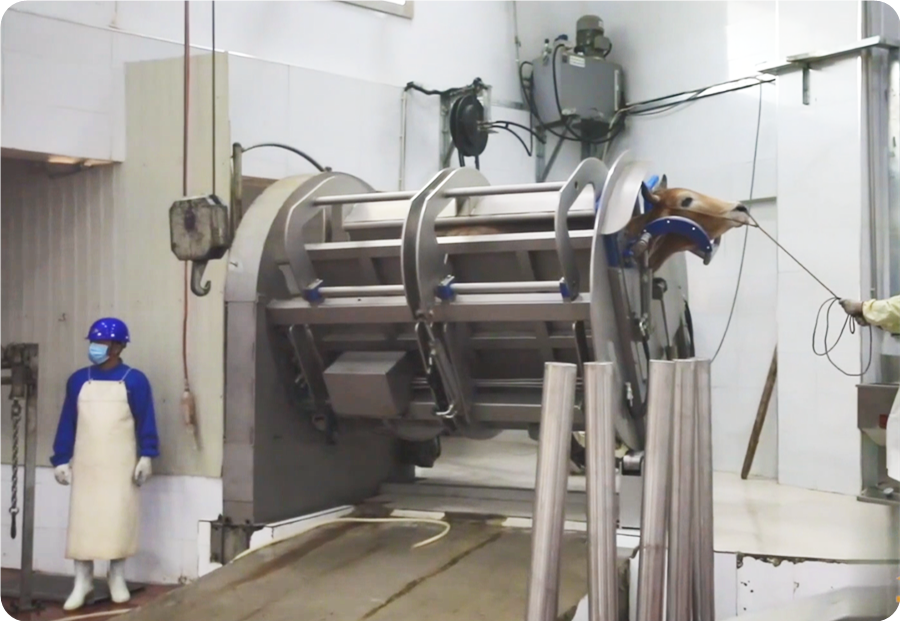
2.1. Live Slaughter: After the cow enters the flap box, it uses the form of two pneumatic rollovers. The first rollover releases the leg of the cow, and a back leg is tied with a chain. The second rollover releases the entire body of the cow, which is lifted into the bloodletting track by a hoist. And the cow hangs upside down on the track for assassination.
2.2. Horizontal/Inverted Bloodletting: The cow was stunned instantly after entering the flap box. Then release the body of the cow and lay it flat on the bullpen to assassinate it or hang it on the bloodletting track.
2.3. After the cow entered the flap box, the neck was clamped, the chin was held up, and stabbed with a knife. After the bloodletting, the released cow body is lifted into the bloodletting track by a hoist.
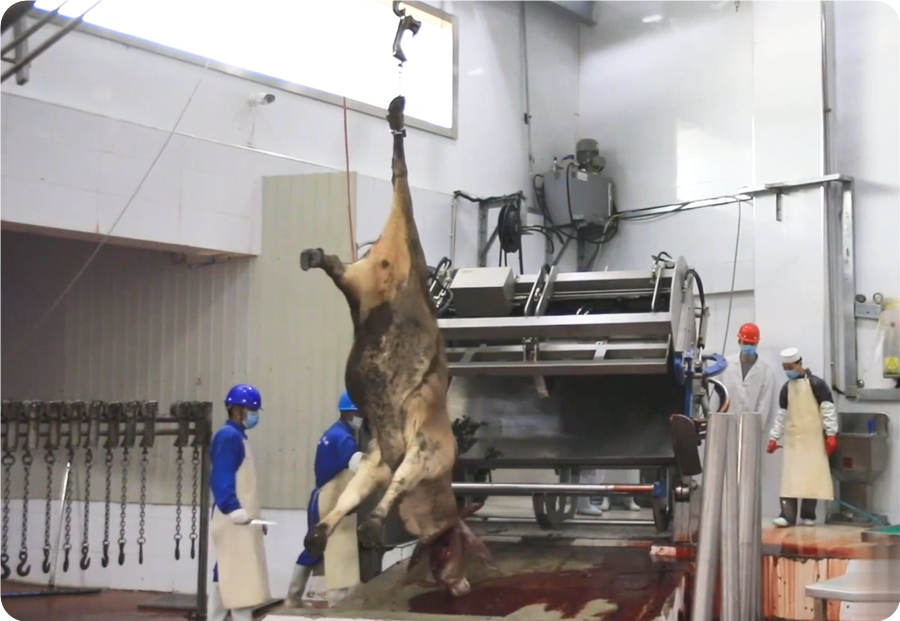
2.4. When the cow enters the track through the bloodletting hoist, the track should be automatically opened, and the roller bloodletting sling should be hung on the track. The bloodletting track is designed to have a height of 5100mm from the floor of the workshop. If it is a hand-push line, the design slope of the hand-push line is 0.3-0.5%.
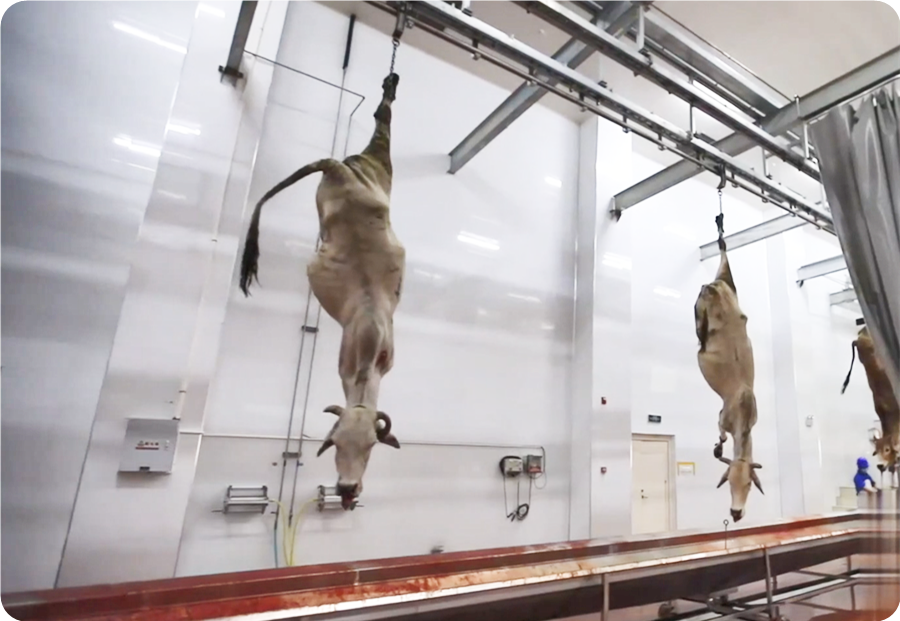
2.5. The main processes completed on the bloodletting line: hanging, (assessing), draining blood, electrical stimulation, cutting the front legs and horns, rectal sealing, cutting the back legs, etc. The draining time is generally designed to be 5-6min.
Step 3: Hanging and Pre Peeling
3.1. After the cow back leg is cut, the back limb is hooked with the roller hook, and the other back leg is released after being lifted, and then hooked, and hung on the handrail of the carcass processing line. The height between the track of the carcass processing automatic conveyor line and the workshop floor is designed to be 4050mm.
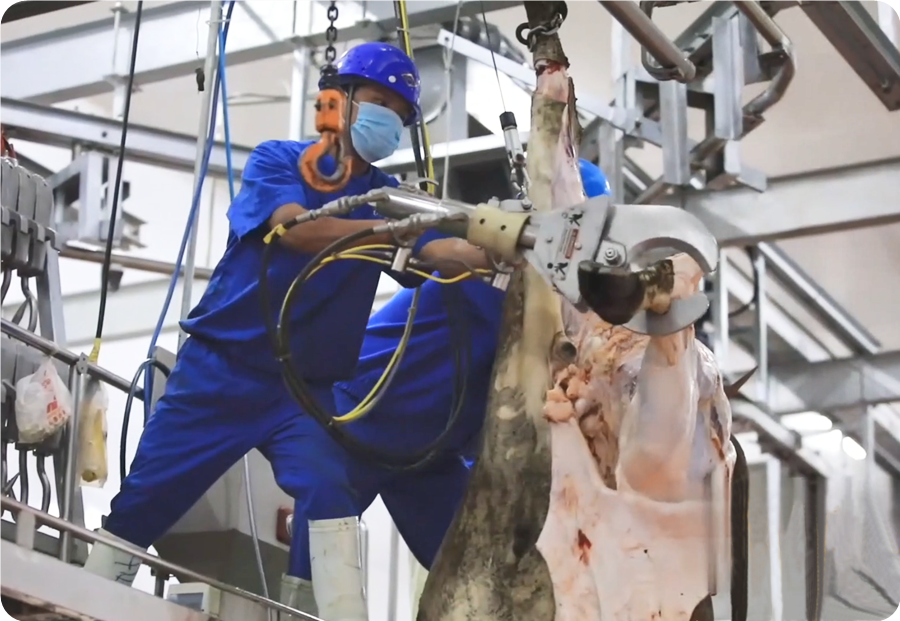
3.2. The bloodletting sling returns to the upper hanging position of the cow through the track of the return system.
3.3. When entering the carcass processing conveyor, the double back legs are automatically stretched by pneumatic lifting and shift forks. The first leg spacing is designed to be 500mm. Carcass processing conveyor distance between stations: 2100mm or 2400mm.
3.4. After spreading the legs, perform pre-peeling and use a peeling knife or a pneumatic peeling knife to pre-peel the back legs, chest, and front legs.
Step 4: Pulling off Skin
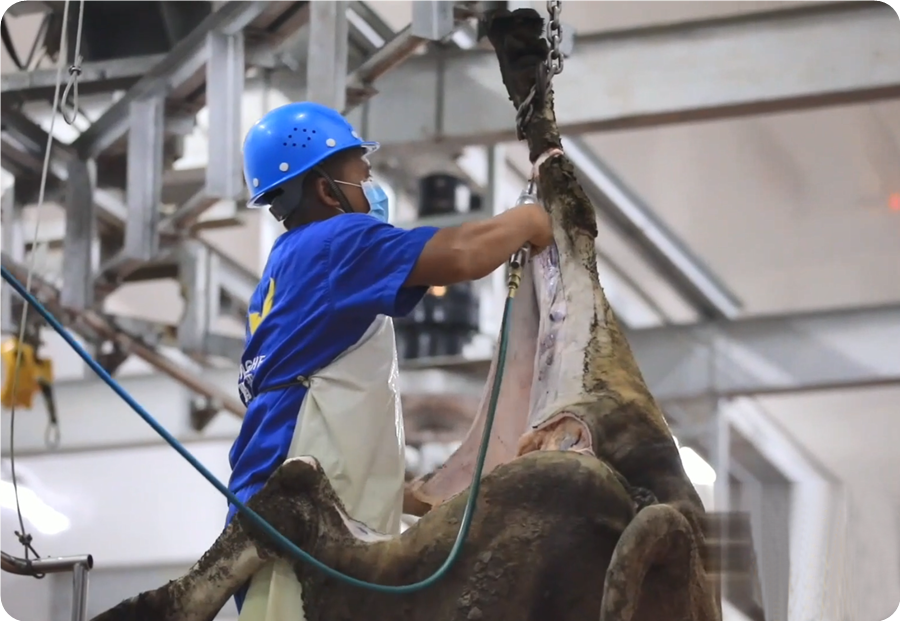
4.1. The pre-peeled cow is automatically transported to the peeling station, and the two front legs are fixed on the tying frame with the tying chain.
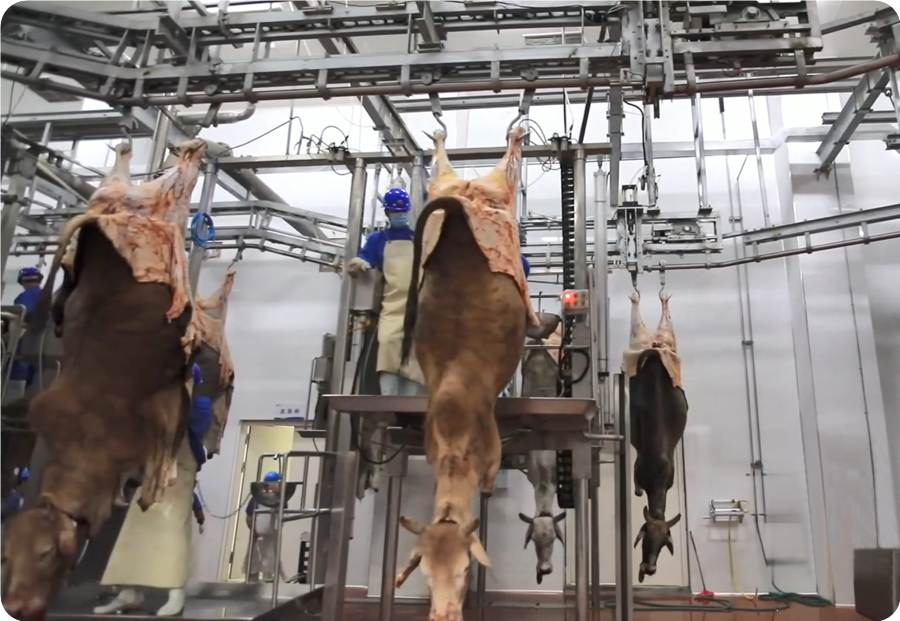
4.2. The peeling roller of the peeling machine is hydraulically lifted to the position of the cow’s back legs, and the pre-peeled cowhide is clamped with a clip and pulled from the back legs to the head. During the mechanical peeling process, the operators on both sides stood on the single-pillar pneumatic lifting platform to perform repairs, until the head peeling was finished.
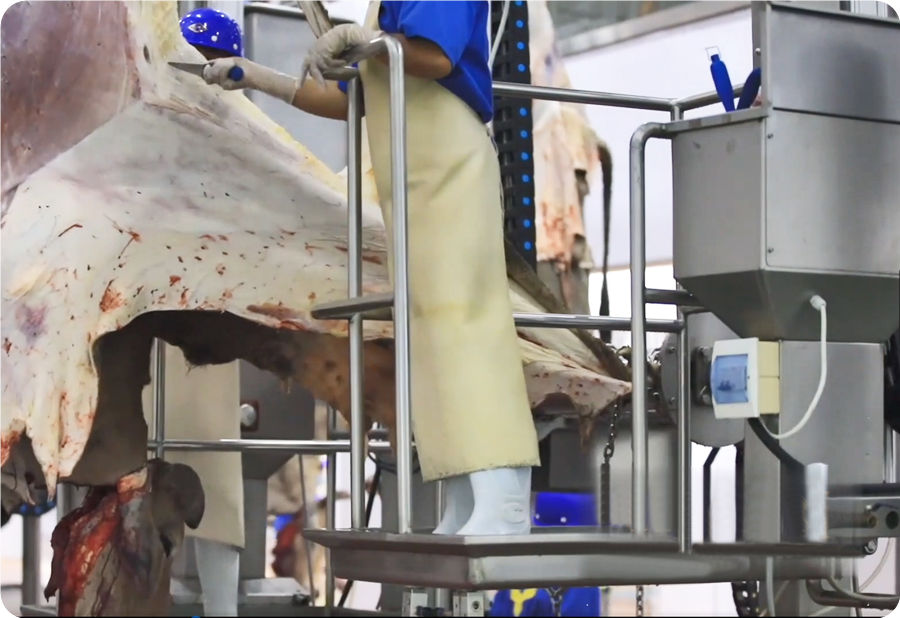
4.3. After the cowhide is pulled off, the peeling roller starts to reverse, and the cowhide is automatically put into the air delivery tank through the automatic unfastening chain.
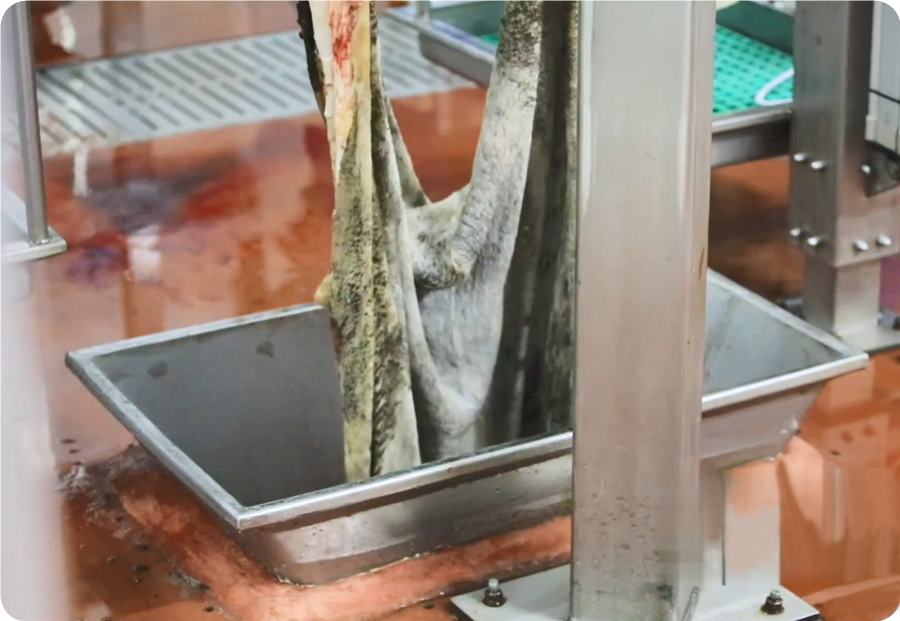
4.4. The pneumatic gate is closed, and compressed air is filled into the air delivery tank, and the cowhide is transported to the temporary storage room through the air delivery pipeline.
Step 5: Carcass Processing
5.1. Carcass Processing Station: cutting head, rectal sealing, cutting open the chest, taking white viscera, taking red viscera, splitting in half, carcass inspection, carcass trimming, etc., are all completed on the automatic carcass processing conveyor.
5.2. Cut off the cow head, put it on the chopping board of the cleaning device, cut out the tongue, hang the cow head on the hook of the washer, and clean it with a high-pressure water gun. The cleaned cow head is hung on the red viscera/cow head synchronous quarantine conveyor for inspection.
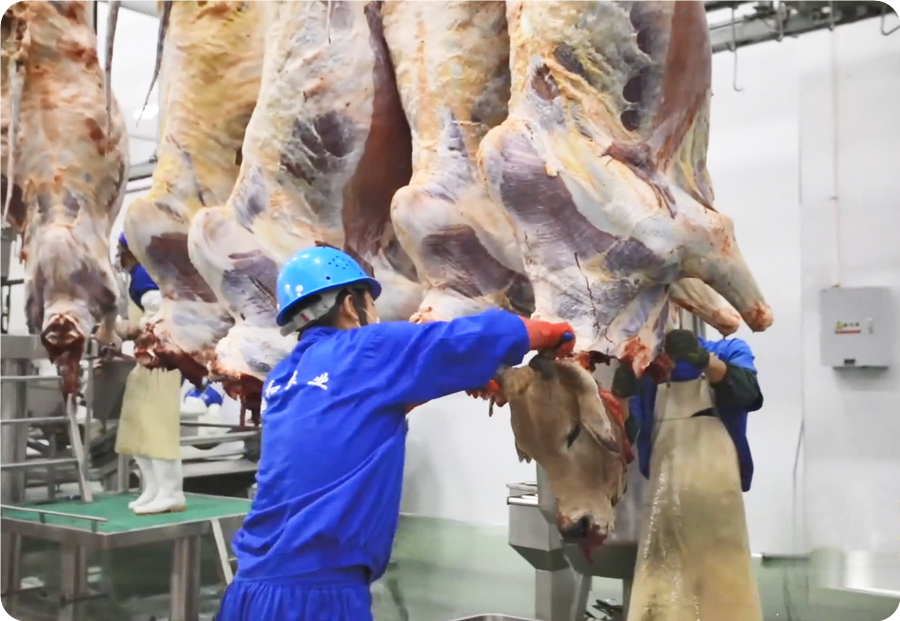
5.3. Use an esophageal ligature to tie up the cow’s esophagus, to prevent the stomach content from flowing down and contaminating the beef. Enter the secondary leg support device, to support the two hind legs of the cow from 500mm to 1000mm for the next process.
5.4. Open the chest of the cow with a chest saw.
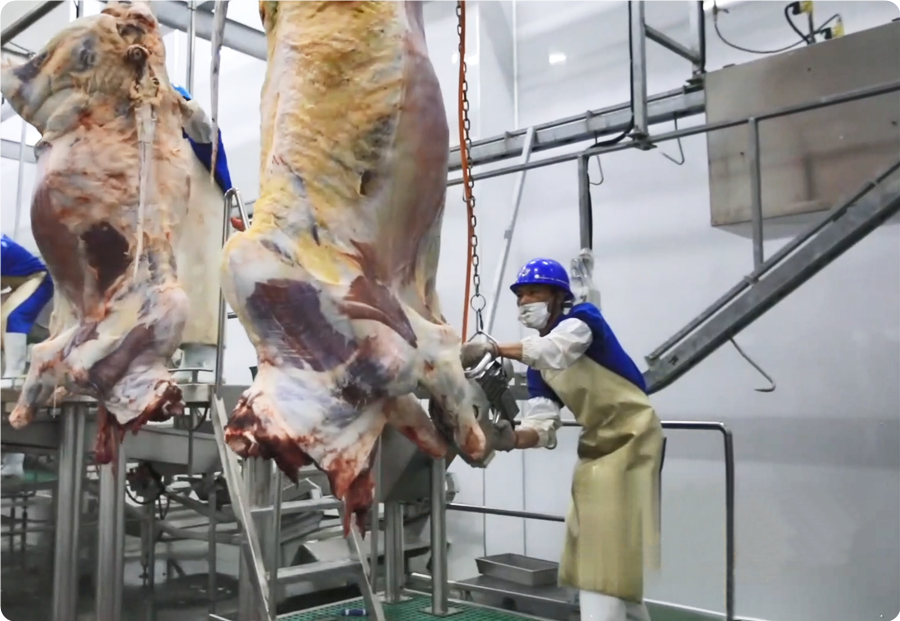
5.5. Peel off the white internal organs from the chest, namely the intestines and stomach. they fall into the pneumatic white viscera chute below and slide into the inspection tray of the disc-type white visceral quarantine conveyor through the chute to be inspected. The pneumatic white viscera chute is then cleaned and disinfected with cold-hot-cold water.
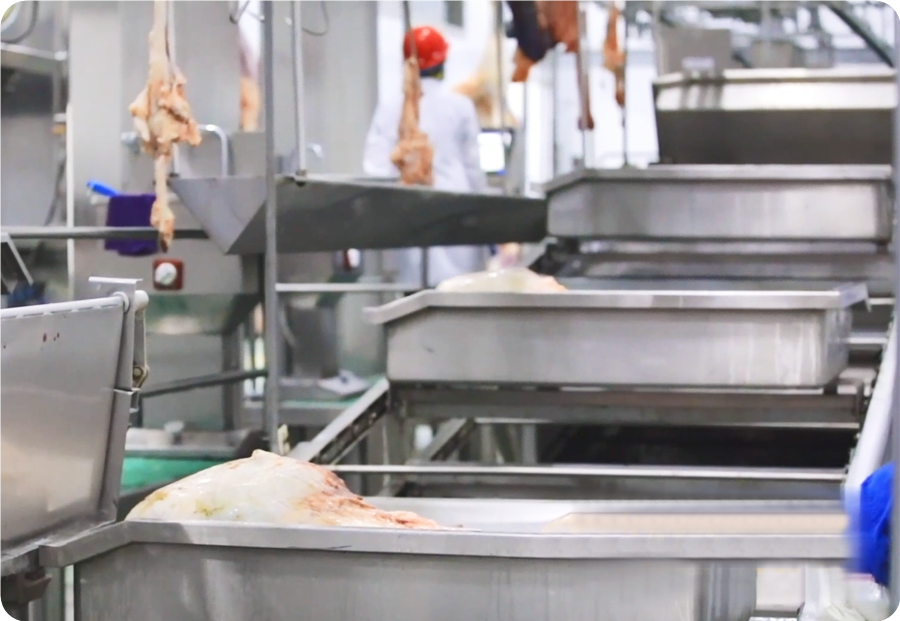
5.6. Take out the red internal organs, namely the heart, liver, and lungs. Hang them on the hooks of the red viscera/null head synchronous quarantine conveyor to be inspected.
5.7. Use a belt split saw to split the cow into two halves along the spine. A splash screen is designed in front of the split-half to prevent bone foam from splashing.
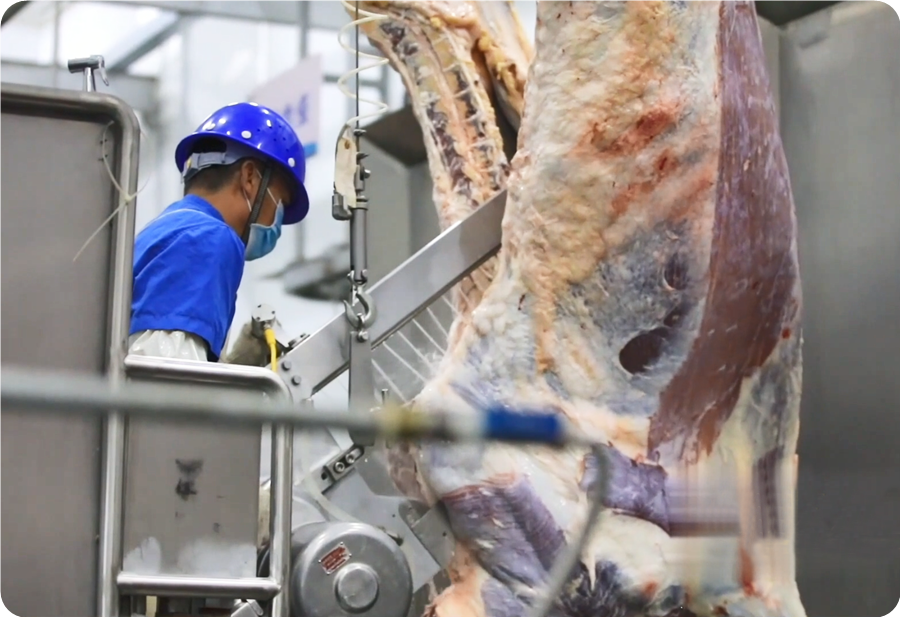
5.8. Trimming the halves of the cow inside and outside. Then they leave the carcass automatic processing conveyor and enter the carcass weighing system for weighing.
Step 6: Synchronous Health Inspection
6.1. Beef carcass, white viscera, red viscera, and head are simultaneously transported to the inspection area through the quarantine conveyor for sampling and inspection.
6.2.An inspector conducts a carcass inspection, and the suspected carcass enters the suspected carcass track through a pneumatic switch.
6.3. The unqualified red viscera and cow heads are put into a closed car and pulled out of the slaughterhouse for processing.
6.4. The unqualified white viscera are separated by a pneumatic separation device, poured into a closed car and pulled out of the slaughterhouse for processing.
6.5. The hook of the red viscera/head synchronous quarantine conveyor and the sanitary quarantine plate of the disc-type white viscera quarantine conveyor are automatically cleaned and disinfected with cold-hot-cold water.
Step 7: By-product Processing
7.1. Qualified white internal organs enter the processing room through the chute, pour the stomach contents in the stomach and intestines into the air delivery tank, fill with compressed air and transport it to about 50 meters outside the slaughter workshop. There is a tripe washing machine for tripe and shutters. Perform scalding.
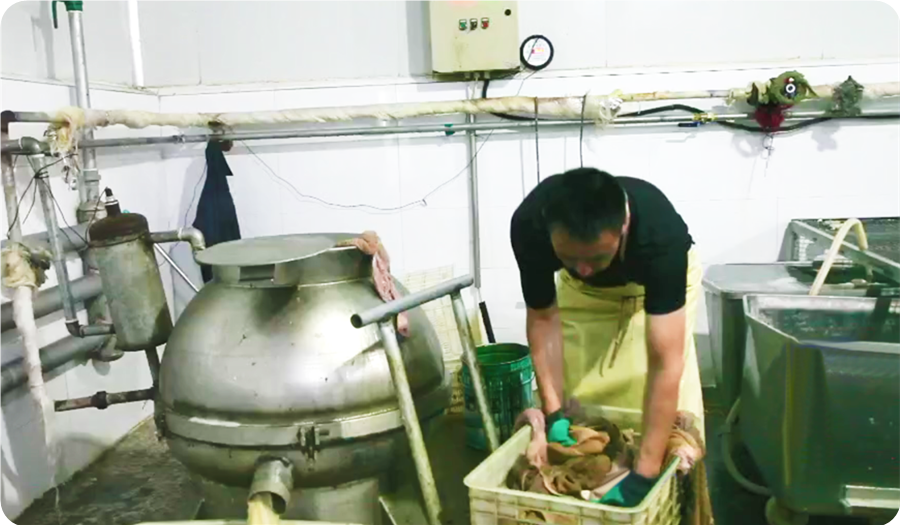
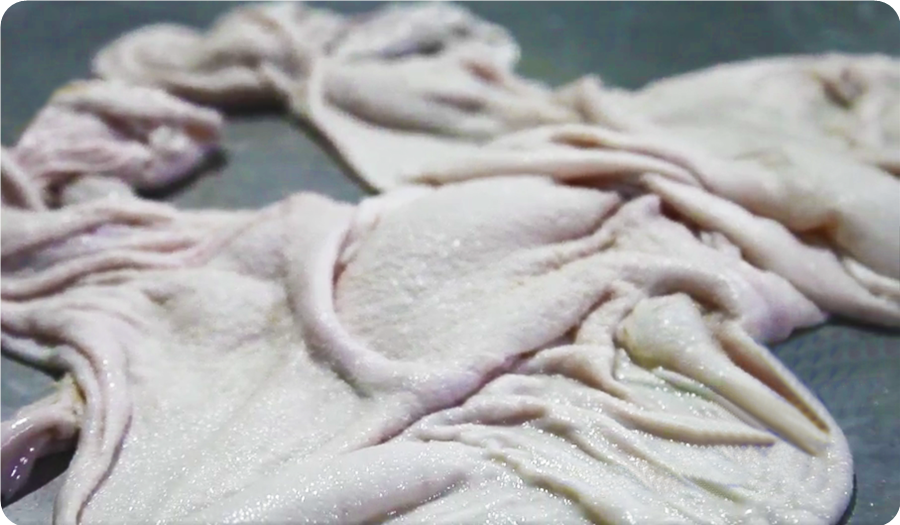
7.2. Qualified red viscera and heads are taken off the hooks of the synchronous quarantine conveyor, hung on the hooks of the red viscera cart, and pushed into the red viscera room, and then cleaned and then entered into the cold storage.
Step 8: Two Halves Acid Excretion
8.1. Push the trimmed and rinsed two halves into the acid discharge room to “discharge acid”. This is the process of beef tenderization and maturation. It is an important part of beef cattle slaughter and processing, which determines the production of high-end beef.
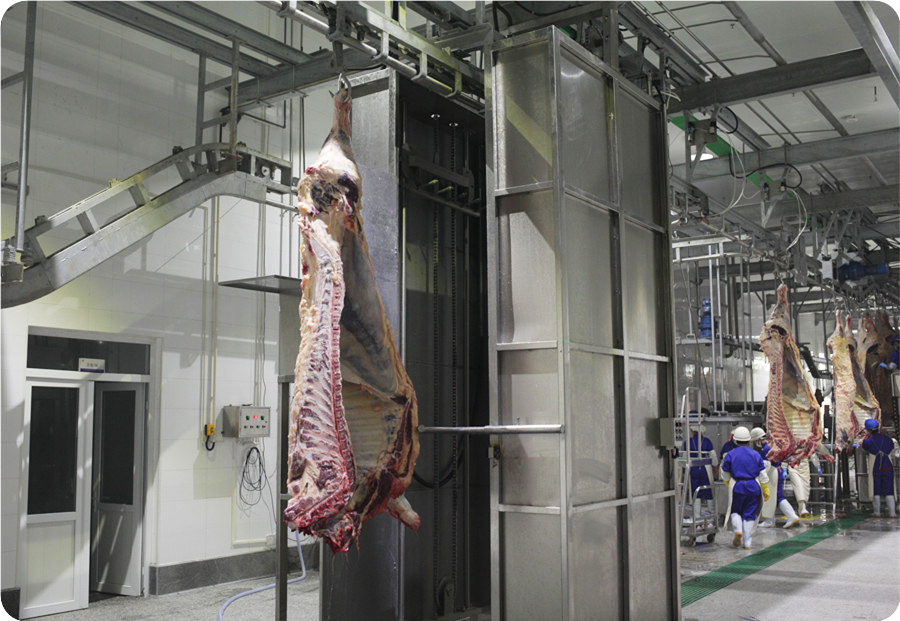
8.2. Temperature control during acid discharge is 0-4℃, time 60-72 hours. Depending on the breed and age of the cattle, some will take a longer time.
8.3. To detect whether the acid discharge is mature, it is mainly to detect the pH value of the beef. When the pH value is in the range of 5.8-6.0, then it’s done.
8.4. The height of the acid-discharging track from the ground is 3500-3600mm, the track distance is 900-1000mm, and each meter of track can hang 3 dichotomies.
8.5. The area design of the acid discharge room is related to the slaughter volume and slaughter method.
Step 9: Cutting to 4 Halves
9.1. Push the deacidified beef to the quadrant station, cut off the middle of the halves with a saw, and lower the back leg parts from the 3600mm track to the 2400mm track by the descending machine, and lift the front leg parts from the 1200mm track by the hoist To the 2400mm track.
9.2. Some slaughterhouses will design quad storage rooms. The distance between the quadrant track and the ground between the quadrants is 2400mm.
Step 10: Cutting and Packaging
10.1. Hanging Deboning: Push the 4 halves to the deboning area, and hang them on the production line. The deboning staff puts the cut large pieces of meat on the dividing conveyor, automatically transfers to the dividing staff, and then divides into various parts of meat.
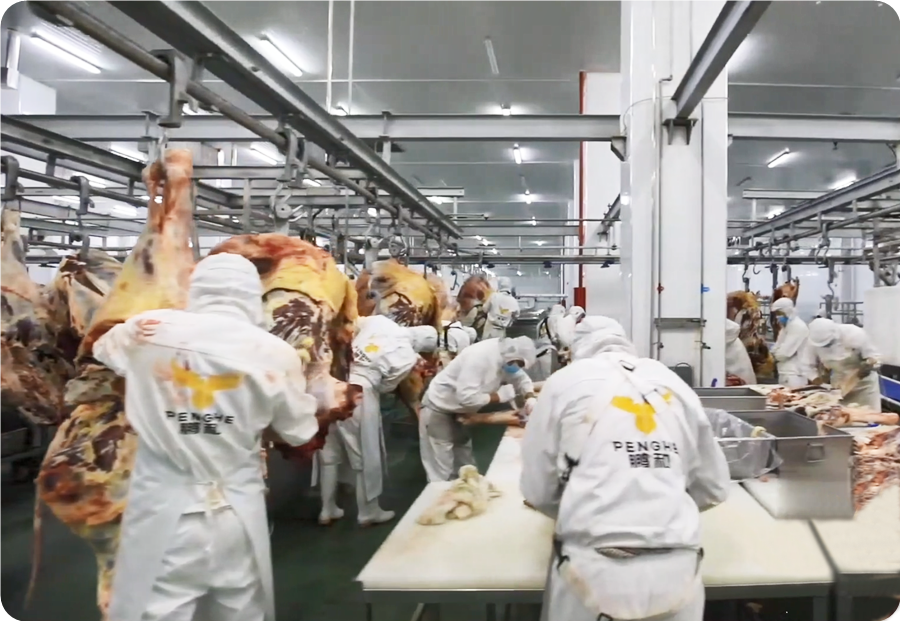
10.2. Chopping Board Deboning: Push the 4 halves to the deboning area and place them on the chopping board for deboning.
10.3. After the divided meat is vacuum packaged, it is put into the freezer tray and pushed to the freezer (-30℃) to freeze or to the finished product cooling room (0-4℃) to keep it fresh.
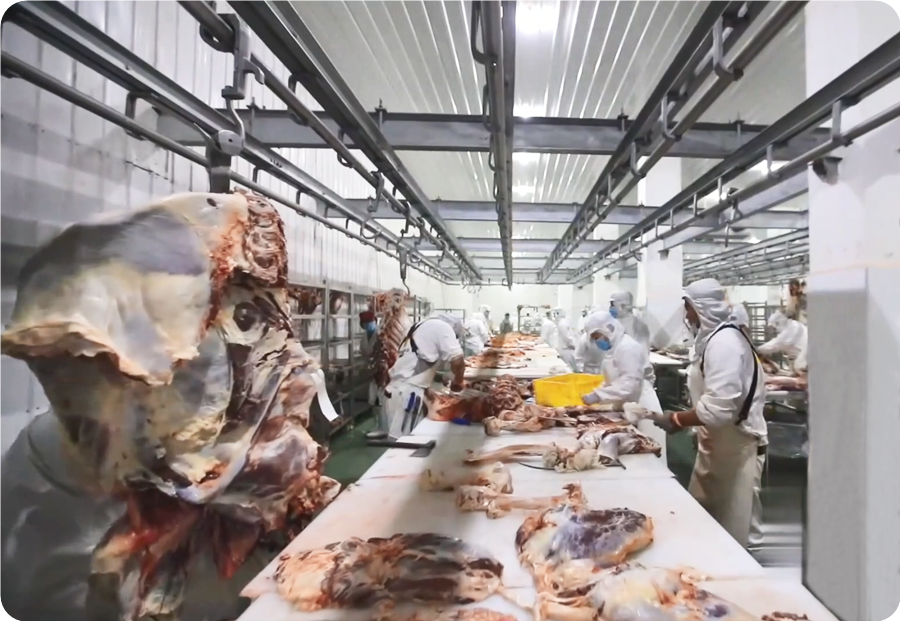
10.4. Boxing and store in the cold storage room (-18℃).
10.5. Deboning and segmentation room Temperature: 10-15℃. Packaging room: below 10℃.

